Saturday, December 31, 2011

After Christmas-Card Crafts

Happy 2012, Crafters!

It is after Christmas and what do we do with all those cards?! Well, I've been giving it some thought and here are a few easy crafts to eat up some of that excess paper bulk in your recycling bin.

Image from Yoyomax12 video
  1. Make Christmas tags out of the decorative side of the card. If the back of the decorative side of the card is clear of markings or script, then you can cut tags in whatever shape you desire; for example circles or rectangles! Think about using pinking shears for a cute edge.
  2. My mom used to make a tiny gift count down for Christmas so I wouldn't loose my mind waiting to rip open gifts. All her 24 boxes were made out of old Christmas cards and about 2 square inches. I've found a great and simple rectangle box video tutorial by Yoyomax12.
  3. Garlands! Circle shape garlands are very "in" right now. Cut a ton circles out of the decorative side of the card an 1 and a half or 2 inches in diameter. Sew them on the sewing machine with a little wiggle room between each circle. Wrap strand around a piece of cardboard for storing and put away for next winter! A shorter variation: Cut circles out of the decorative and plain sides of the card (each decorative side should have a "backing" side), grab a piece of inch wide and est. foot and a half to 2 feet long grosgrain ribbon, tie a hanging loop at the top end, and glue the front and back to each other on the ribbon. 
And of course you can find tutorials EVERYWHERE for that old standby, the Christmas card ornament. I just think its a bit old fashioned and stuffy but to each his own holiday crafts!

Be safe, healthy, and look forward to 2012, BK

Thursday, December 22, 2011

Make Your Own Bows

Hey Semi-Pro Package Wrappers,

I found a great tutorial on making your own bows from scrap paper in the house. I followed the tutorial with a piece of magazine paper (an ad for Mariah Carey's newest fragrance) but I really like How About Orange's suggestion of using maps! I, however, only used one of the medium sized pieces since my loops seemed to be a bit smaller than hers. Looks just fine and I'm sure practice makes perfect.

BK


Friday, December 9, 2011

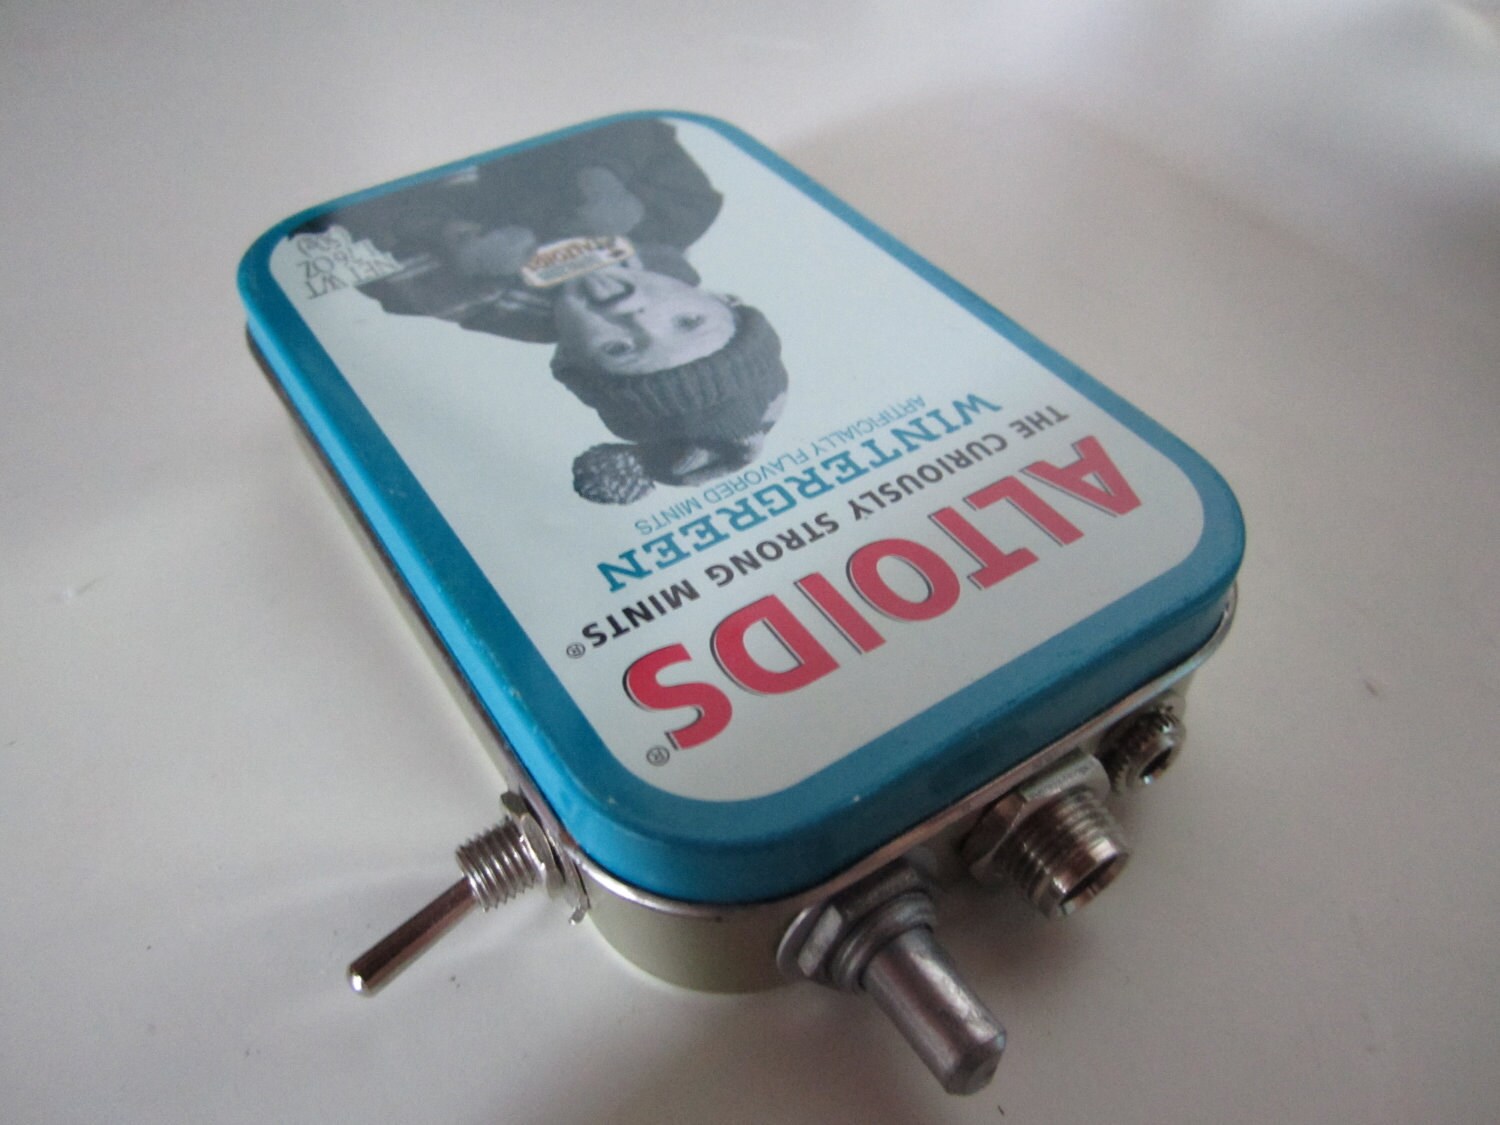
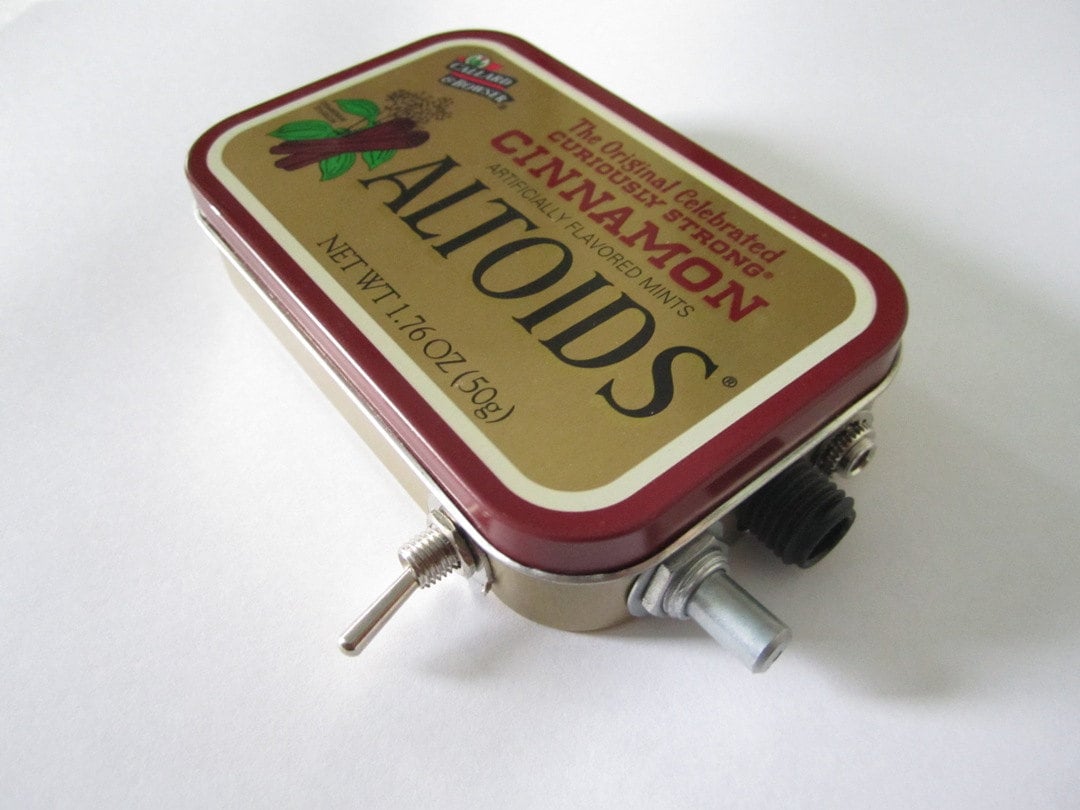
Altoids Amp

Hey Holiday Hustlers,

Today I am spotlighting a very cool little item from Etsy, The Altoids Amp. K Hessler has been selling these cool electronics steadily since Holiday 2010 and has a great reputation from sellers with comments like:

"Super fast shipping, product looks great! I'm going to order another one!" 

"This thing is killer and the build is super clean. I will definitely be ordering more for friends and family. Thanks!" 


K Hessler, an electrical engineer, came up with the idea by melding two favorite interests (guitars and electronics) to help put him through school. The small amp runs on a 9V battery and has a speaker, a guitar and headphone jack, and volume and power knobs. It would be a very cool gift for any guy who shreds axe and has roommates. And keep an eye out for more items in his Etsy shop next year!

BK


Wednesday, December 7, 2011

Birthday Badge and Banner Tutorial

Hey Crafters,

My best fella's quarter century birthday was this week I made him a birthday badge to wear for the evening. The poor guy is starting final exams soon so our festivities were a bit uncertain and truncated. We went out for Indian food (which was great) and to the bar to grab a few drinks and a good time was had by the few other students brave enough to crawl out of the study coma. I had the same problem in undergrad; my birthday was during spring finals. It sucks.


This badge is made of two types of colored paper (blue and orange), a length of crepe streamer, ribbon and rickrack, a bobby pin, and hot glue.

Bobby pin on back
  1. I started by making my front and back circle (the 25). Using something round (ex. the bottom of a glass), cut two circles. 
  2. Write what you want (or print from the computer) on the front circle before gluing anything to it. I wrote "25" with some side flourishes.
  3. Then I glued the streamer to the back circle, folding as I went to get the ruffles. 
  4. Glue your ribbons, rickrack, to the "bottom" of your back circle (here I cut a few lengths of my blue paper and accordion folded them to get a few more long pieces). 
  5. To make the fringe, cut a length of paper about an inch wide, making slits every centimeter or so (so that it looks a bit like a comb) and glue that to the front circle. 
  6. Glue the front circle to the back circle. 
  7. Here I put a bobby pin on the back instead of a real pin back so  that I could slip it into the hole on the top of a cone party hat that was already hanging around my apartment OR he could take it out and wear it on a pocket or lapel.
I also made a tiny banner out of the same blue and orange paper.

  1. Take a length of string (I used yarn but maybe hemp twine would be better. The yarn keeps twisting unpredictably). 
  2. Fold your paper in half and cut a triangle, wide end on the fold. 
  3. That long diamond shape folds in half around the string. Glue in place. 
  4. Tie bows onto toothpicks or chop sticks and stick in your birthday cake! 

Since we didn't have cake, I stuck this guy in the rice at the Indian restaurant.

BK


Monday, December 5, 2011

Fort Making Kit

Hello Crafty Parents!

I love love love this craft! With the holidays coming up a Fort Making Kit would make a great present! Bloom has come up with a truly complete, deluxe fort making kit. When I was a kiddo, I would have flipped out getting to start with all these supplies. And I bet this could be made pretty cheaply, which Emily of Salt Water Kids suggests; getting sheets from Goodwill and other items like suction cups from the Dollar Tree (I know my hometown Dollar Tree is chock full of items like clothes pins and flashlights). I like Salt Water Kids idea of using rope instead of making my own ties from fabric. Making your own ties is a lot more work and you don't need a bias maker.
Pic by Salt Water Kids

BK

Saturday, December 3, 2011

12 Days of Giveaways!

Hey Crafters,

Spoonflower is doing 12 Days of Giveaways on their blog and they're on Day 3. All you have to do is comment on the blog post or on the link on Facebook. Today's giveaway is a Bundle of Holiday Fabric. Bundle, indeed. I say "Bundle me up!"

BK

Thursday, December 1, 2011

Maple Leaf Coasters

Hello Crafters,

Ok, ok, I know that its not quite fall anymore (depending on where you live, its definitely not fall anymore) but I have a few more fall crafts I wanted to get in before I move to winter.

I have been putting The Long Thread's Maple Leaf Coasters on the back burner for a few weeks but they are so easy to do. The tutorial made them out of felt but I bought three wool sweaters this fall to make felted wool projects. This is the first sighting on the blog of these sweaters.

They even give you the leaf template which I just copied right from my screen (I have no printer at my immediate disposal). You can kind of see the three colors of sweaters I bought; Orange, pale green, dark gray. They look great and I am excited to see how absorbent they are (which I suspect they are since its a natural fiber). Because of the thickness of the felted wool, when sewn they even curve around my glass like a real leaf.

BONUS SUGGESTION! This same idea would be great if you made Christmas bulb coasters in red and green or blue and white; and sewed patterns, like zigzags in silver, across the circle. Hm, but what to make the metal hanging piece out of...maybe a small bow or a ribbon in a V shape trailing away from the bulb.

BK

Monday, November 28, 2011

Matchbook Notepads

Hello Crafters,

Always looking for a scrap of paper to jot a gift idea, a forgotten grocery list item, or a to list? I know I am. Daisy Janie has a great tutorial for simple Matchbook Notepads. All you need is some scrap paper (I always have a pile of used paper, like misprinted copier paper, that I keep to use the back of) and a decorative paper (like scrapbook or card stock). I made these and put them in my Christmas cards as an extra treat!


 BK

Polaroid Magnet Frame

Hey Photo Phreaks!

Pic by papernstitch
I stumbled upon this super easy and cute tutorial for Polaroid Magnet Frames on papernstitch: the blog! All it takes is a white magnetic sheet, box cutter, pen and ruler to make these cute frames for the fridge. Papernstitch has very sweetly figured out the dimensions of a Polaroid picture for us!

BK

Chicken Tortilla Soup

Hey Chefs,

I made Pearls, Handcuffs & Happy Hour's Chicken Tortilla Soup recipe this last, rainy Monday. I made a few variations to the recipe to use what I already had in the fridge: one large chicken breast (which was definitely enough chicken, as you can see in the first picture) and I cooked the chicken in 2 cups of vegetable stock and used that as my Chicken broth.

This recipe was terrific! It is thick, hearty, and chock full of veggies. In my pictures, you can see that the soup doubles in volume once you add all the veggies (picture to the right). I topped mine with sharp cheddar and scooped it out with tortilla chips (which is my favorite way to eat anything). It certainly warmed me up!

BK


Thursday, November 24, 2011

Black Friday!

Ahoy Black Friday Buccaneers!

Here are a few places that you should visit in this Black Friday and Cyber Monday Madness:

Spoonflower: 2 for 1 fat quarters
Etsy: Almost everyone has deals. Look in sellers banners for Black Friday codes.

Get yer Booty, BK
Thursday, November 17, 2011

Magazine Letters

Heya Home Decor Nerds,

I bought a magazine subscription a few months ago and now have a stack of magazines cluttering up my space. In college, I did a project where I used the pattern and texture from magazine ads and fashion spreads to make different dove shapes. Inspired by that project, I came up with the idea of cutting a short phrase out of magazine pages and putting them on my bare, new apartment walls. I free hand cut the letters and taped them to my wall. They use the whole, rectangle shape which should give you an idea of how big they are (along with the sliver of window I included in that shot). Using darker colors on a light wall and vice versa is probably best (I know you see my pale E and D). Simple and recyclable.

Live the life you've imagined (Thoreau), BK


Tuesday, November 15, 2011

Odds and Ends

Hey all you Craft People,

These are a few small, crafty moments I'd like to share with you.

It might be a little late for this tip, but I re-used the fake cobwebs I had up at Halloween in my windowsill for fake snow!

I have bread bag ties on the cords in my power strip so I know what I am unplugging instead of having to follow it through a jungle of cords. This would work really nicely for the power strip behind the TV! I don't know how many times my parents have made me shimmy behind the entertainment center to follow cords to their plugs.

This tip was a complete accident. I filled an old soap dispenser with dish soap so I don't have to fiddle with a bottle with soapy hands. I started with yellow dish soap and when that ran out I moved on to a blue soap but the blue soap is heavier so it made this ombre effect.

BK


Scrabble Ornaments

Hey Crafters,
I recently joined Pinterest and I'm hooked. It is a website that works like a cork board where you can "pin" interesting pictures, recipes, crafts...you get the idea. While browsing I saw a Scrabble name ornament which I didn't even need a tutorial to figure out. I grabbed my baggie of Scrabble tiles, found my and my fella's names, hot glued the letters together (very thin lines of glue or try super glue instead!), added some ribbons and voila! Ornaments!
BK

PS I buy my Scrabble tiles from Goodwill and chuck the board. You can usually get the game for a buck or two and it doesn't matter if there are pieces missing!

Sunday, November 6, 2011

Fabric Roses

Heya Craft Masters,

Alisa Burke's website is pretty amazing. She has tutorials, teaches online craft classes, and shows what inspires her. She also writes books (all of which I put on my Christmas list). I finally tried out a tutorial I've had sitting around for a while, her version of Fabric Roses. Since I had a bunch of left over orange fabric from Halloween, I decided this was the right place/right craft. It was super easy and took only about the length of your forearm for a good sized rose (about a inch and a half in diameter). I used hot glue and made about ten just putzing around on Hulu. I'm not sure what I am going to do with them, maybe with them on bobby pins or pin backs. I've seem them as structured necklaces or adorning everything from pillows to purses.

Her Poetry Pillow tutorial is a pretty cute idea. She made her front panel by painting some canvas, but that isn't very cuddly. I suggest writing it on real notebook paper, scanning it, and turning it into a real piece of fabric on a site like Spoonflower. Then sewing it into a pillow.

BK


Friday, November 4, 2011

Flower Headband Tutorial

Howdy Craftsters,

Today is a pretty big day for BK's Craft Blog: My First Tutorial! If there are any confusing instructions, I'd love the feedback.

Flower Headband!
What You'll Need:

  • Fake Flowers (one big bundle did the trick for me)
  • Sturdy Headband (I bought a cheap-o pack of two in case one broke)
  • Hot Glue Gun and Glue
  • Ribbons, Beads, Sequins, Rhinestones, etc..
  • About a Fat Quarter's worth of Fabric, could be a scrap!
Instructions:
1. If your headband is already covered in fabric, skip this step! My headband was made of plastic so I covered it with some scrap fabric I had, to give the hot glue something to really hold onto. I started with one side of the the fabric, gluing it to the center of the inside of the headband. Then I wrapped the fabric around the outer side of the headband and glued it to the center of the back, over the fabric already glued there. Cut off any excess fabric.
2. Take all the flowers off their stems and lay on the table in the order they are going to be put on the headband. I started with the center flower first, angling some flowers towards the front and some towards the back (pictured). Put hot glue on the plastic base of the flower and attach to headband (to make it sturdy, put glue wherever the flower makes contact with the headband).
Continue with the rest of the flowers.
3. Add sequins and rhinestones to the petals and centers of the flowers for sparkle and ribbons for flair. Loops and strands of ribbons add some dimension. I put ribbons near my ears to finish off the headband (pictured). 

And Ta Da! You've got yourself a Flower Headband to wear on all matter of occasions; Day of the Dead or Frida Kahlo costumes in my case! Possibly for a wood nymph or Eve costume.


This picture is, of course, after I realized that my fleshy colored powder doesn't really set white make up but before I had transformed into Frida.

BK


Wednesday, November 2, 2011

Tom the Turkey!

Hey Crafters,

I hope all are well hydrated after a sugar (and possibly alcohol) filled Halloween! I know I'm back on my feet and ready for some solidly fall crafts! Since we didn't get enough sugar in fun sized form, I found a recipe for Tom the Turkey Cupakes on Disney's Family Fun website. I think you could skip the black and white frosting if you have some confetti sprinkles. Dab a bit of the brown frosting and stick that sprinkle down.  I remembered a cupcake recipe I used that was sweet potato based so, for a healthier alternative, I found this tasty sounding Sweet Potato Cider Cupcakes recipe on Food Network's site. The texture is a bit different but, trust me, sweet potatoes make yummy cupcake insides. And you can use almond slivers instead of cookies or the head and wings.

BK

Monday, October 31, 2011

Costume BREAKdown

Hey Crafters!

On this beautiful Cincinnati Halloween day, I'll spin you a crafty tale of my scary (drunken) exploits in "The Tale of How I Became Frida Kahlo".


I had been preparing all week a mighty cool Dia de los Muertos couple for my fella and me. I did test runs of both skull make up and hair. John and I went thrifting for suits, dresses, and accessories. I bought the orange dress to the left, decided I didn't actually want to wear it, cut it into chunks, and made it into a pocket square and a sash with fringe for John and a knotted scarf for myself. I glued the boutonniere (at right) for John that matched my headdress (pictured below, tutorial to come).


And on Friday evening before going to our big shindig I started in on my hair, which took a little longer than expected but that was no big deal. I began applying make up and let me tell you, I have been so spoiled by theatrical make up that the cheap grocery store make up really made me sad that this is what most Americans use on their kiddos. It was thick, waxy, and difficult to put on. I scolded myself for forgetting my stage make up kit at my parents home this year. I was racing the clock by the end of my my application since I still had to glue my purple false eyelashes on and do my fella's makeup but after all those years in college doing other people's stage make up at the last minute I knew I could do it. I started to powder and this is where my evening took a turn. 
Earlier in the week when I had done my make up test run, I must have use just a bit of flesh colored powder to set since I wasn't going anywhere in it. But on Friday evening I loaded up my powder puff and *poof* fleshy spot on my white skeleton make up (picture at right). I should have known better and used baby powder since its white and would have gone right over, but I was trying to cut a corner. Ung. So, I had a mini freak out knowing that I did not have time to redo my makeup and do John's, so he talks me down from the ledge and asks me if I have an extra head band. While he is soothing my freaked out self he manages to make himself a pair of cardboard ears. He reminds me that its not a big deal and, even though he appreciates the work I did during the week, he is happy with anything. He suggests that I go as Frida Kahlo (who I love) so I can use the rest of my costume and he went as a panda (and I still did his make up, haha).


Here we are, late in the evening after I'd had too many drinks, sporting both a unibrow and mustache and John with his own crafty, 3-minute panda ears.

Happy Halloween! BK

PS I entered a costume contest where the crowd went from cheering the last person off to a steep drop in noise and booing me and my unibrow. I may have yelled "Go back to middle school art class, you plebes!" 


Friday, October 28, 2011

Inspiration

Hey Creepy Crafters!

I wanted to share a bit of the inspiration for my Halloween costume based on the Day of the Dead (Dia de los Muertos) tradition.

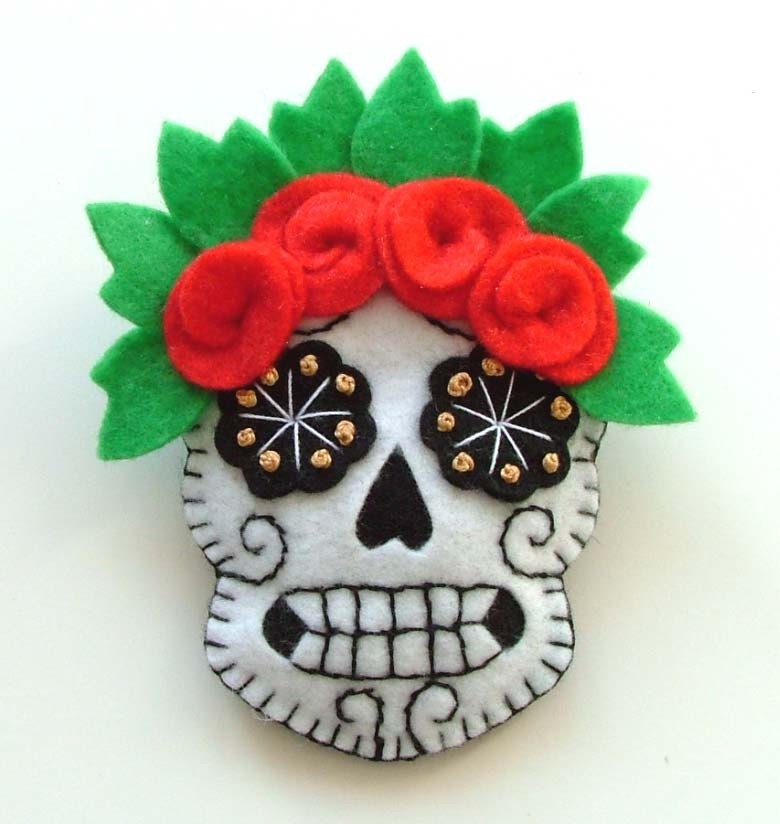
Etsy is chock full of talented amazing artists. The Doll City Rocker makes these great embroidered felt DdlM Skulls that I have been coveting for some time now. She makes them into headbands, clips, boutonnieres and brooches.


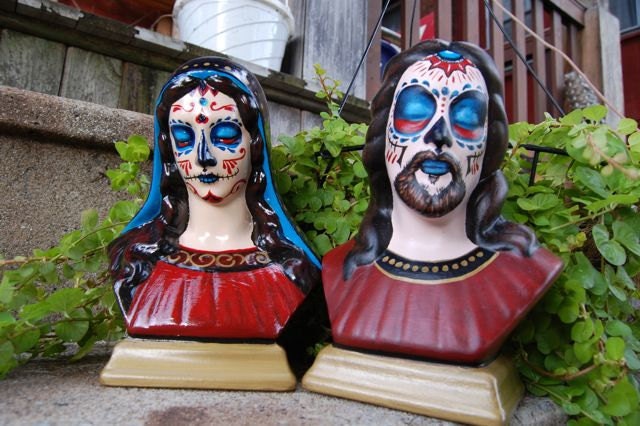
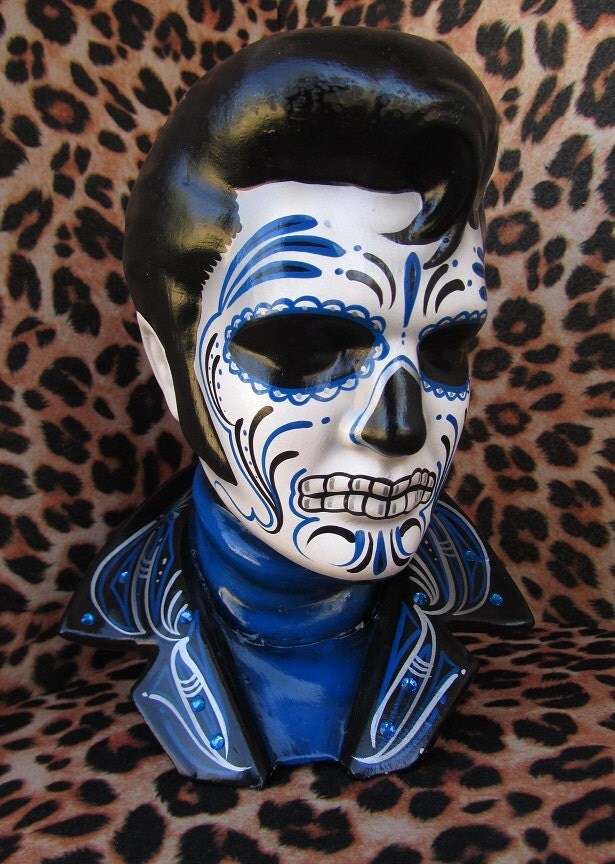
This amazing DdlM painted Mary and Jesus has since sold. But I love what pluralform did with those busts that were probably just going to die a boring, dust covered death.

And Miss Lucky Hell Cat Art currently has 10 pained busts of Elvis as Frankenstein, DdlM, skulls, and zombies; among the rest of her art (one painting of Traci Lords as Wanda)!

Stay tuned for my final Halloween look next week (and a step by step of my process!), HalloWeenies! Have a fun and safe weekend!

BK


Thursday, October 27, 2011

Day of the Dead

Heya Crafters!

I know all that has been on my crafty brain lately has been my Halloween costume. How about you? My fella, John, and I are doing a Dia de los Muertos (Day of the Dead) couple costume. The Day of the Dead is a Mexican holiday at the beginning of November when they honor and celebrate their dead. People celebrate by dressing up as skeletons, making shrines with toys and favorite foods of the dead, cleaning their graves, and often eating meals and spending time there. The skeleton is a HUGE symbol of Dia de los Muertos.

He is wearing a black suit, straw cow boy hat, and bolo tie (New Mexico's official state neck wear, no joke) and I, a black dress and a great headdress I made from orange and purple flowers. And we are totally going all out with our skull makeup. I haven't used my stage makeup skills to this level since college and I am salivating at the prospect. I'm working on our accents now (with process and party pictures to come next week).

Here is a picture of John and I a few years ago, dressed as Boy Scouts. And Elizabeth May, my parents hoggy doggie. She often tries to steal the center of attention. Enjoy!

BK

Monday, October 24, 2011

Free Jello Mold 2


Hallo Weenies!

I got my Free Jello Brain Mold (plus S&H $2.95) in the mail a few days ago and here is my first attempt at making some brains. I just want to let everyone know about this cool deal before they run out. And these molds are cheaper to have Kraft send one right to your door than it is to go to Target and buy one (for $5)!

This is my friend, Amy, with her first attempt at making Jello Brains. She was the one who turned me onto the free mold; so Thank You from all of us, Amy! Amy used Agar Agar which is a vegetarian gelatin substitute made of seaweed. She used one package for this brain and decided next time to use two. But I'd say that is one tasty looking brain! Great Job!

You know the Black Light Responsive Brains are my next Jello adventure! Then maybe a whole vodka Jello brain...The possibilities are ENDLESS!

BK


Friday, October 21, 2011

David Lebovitz

Francophiles,

I recently stumbled upon David Lebovitz's blog Living the Sweet Life in Paris. I was looking for a Spiced Nut recipe for the Premier Party for The Factory Square Fine Arts Festival, when I found his recipe for Pretzel & Nut Mix. I made 32 batches of this recipe for the party and it is still going strong. It has stayed crunchy and extremely snackable. This Pretzel & Nut Mix is addictively tasty, sweet with a major kick! It was a run away success at the party too!

The success of the Pretzel & Nut Mix got me pretty excited to check out the rest of his site learning that he is a pretty decorated pastry chef from Berkeley, CA who now lives in Paris full time.

Then I saw his blog post about Coulommiers, a French cheese that is kinda smelly and turns gooey as it reaches room temperature. I want to try it! Since living in Wisconsin, I've mustered up the guts about trying all kinds of cheeses. And even though a cheese that turns to mush at room temp is outside my previous cheese experience, I'm intrigued.

BK

Wednesday, October 19, 2011

Sugar Cookies

Hallo Crafty Cookers!

As the party season starts having a solid Sugar Cookie recipe in your pocket is a great go to .  This Alton Brown Sugar Cookie recipe is the best one I've tried (many times). Not that I've tried thousands but I have tested about 3 or 4. My family never got together in the winters to make mass offerings of Sugar Cookies so I didn't have a family favorite to start with or the secret of how to keep them from sticking to the counter. But the kicker to this recipe is using powdered sugar instead of flour to dust! Genius! Keeps 'em sweet and from sticking to everything!

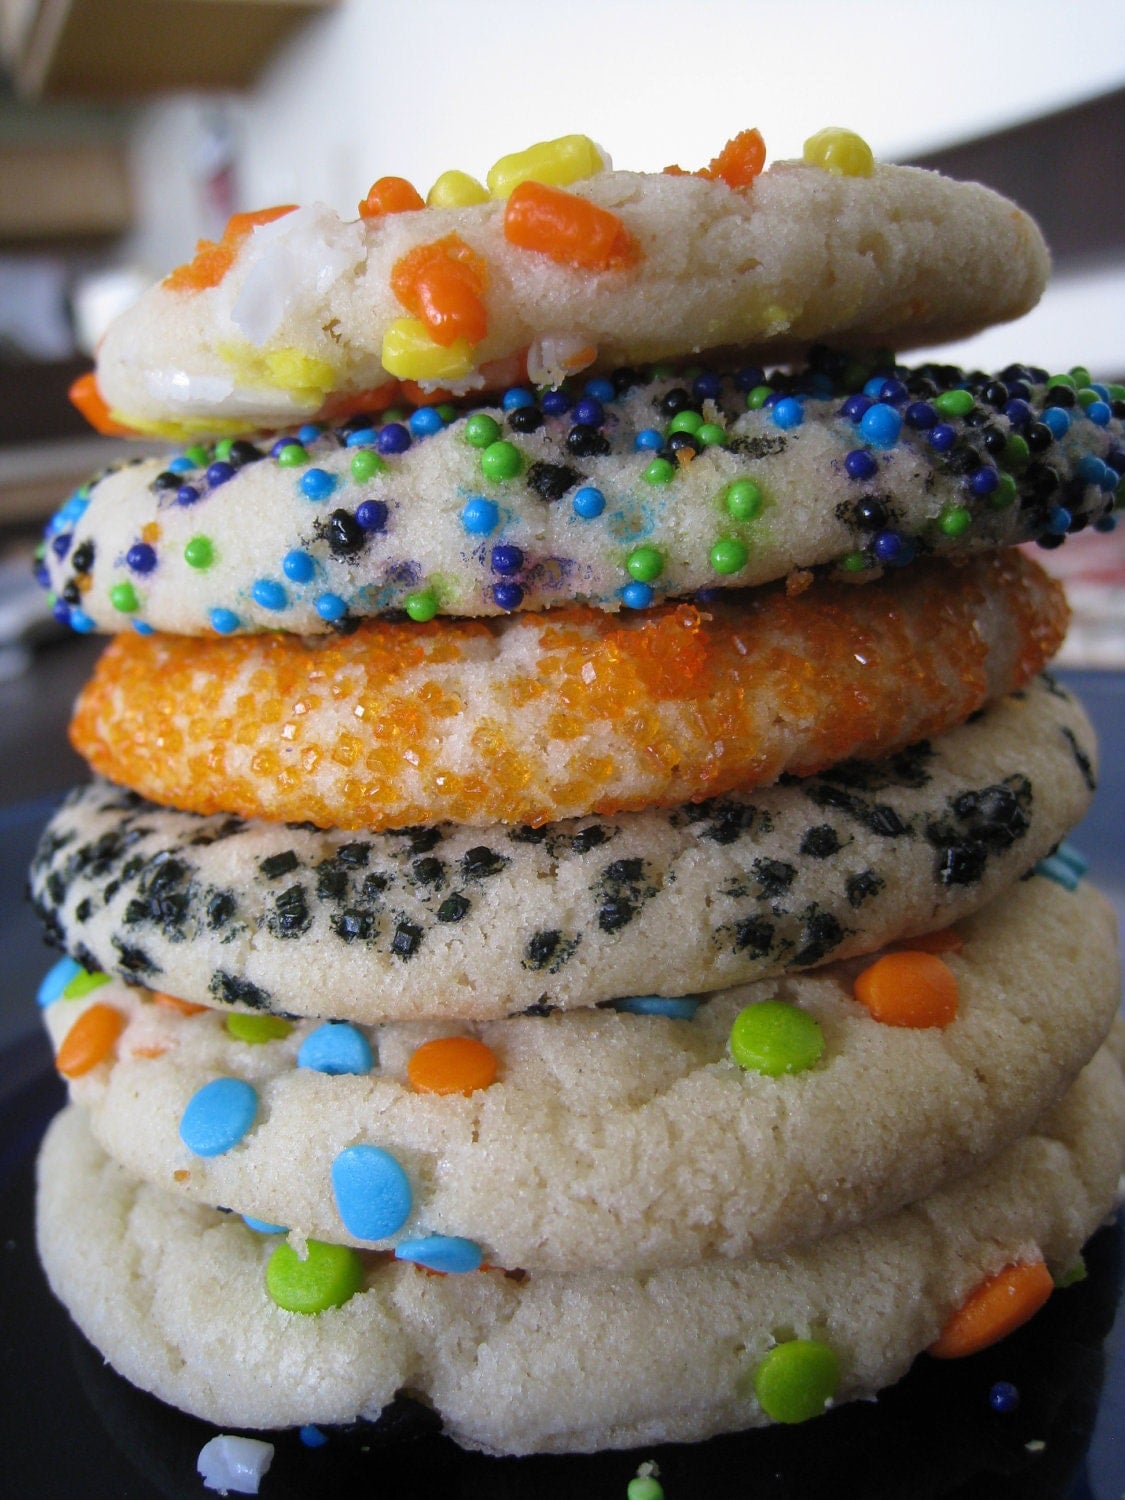
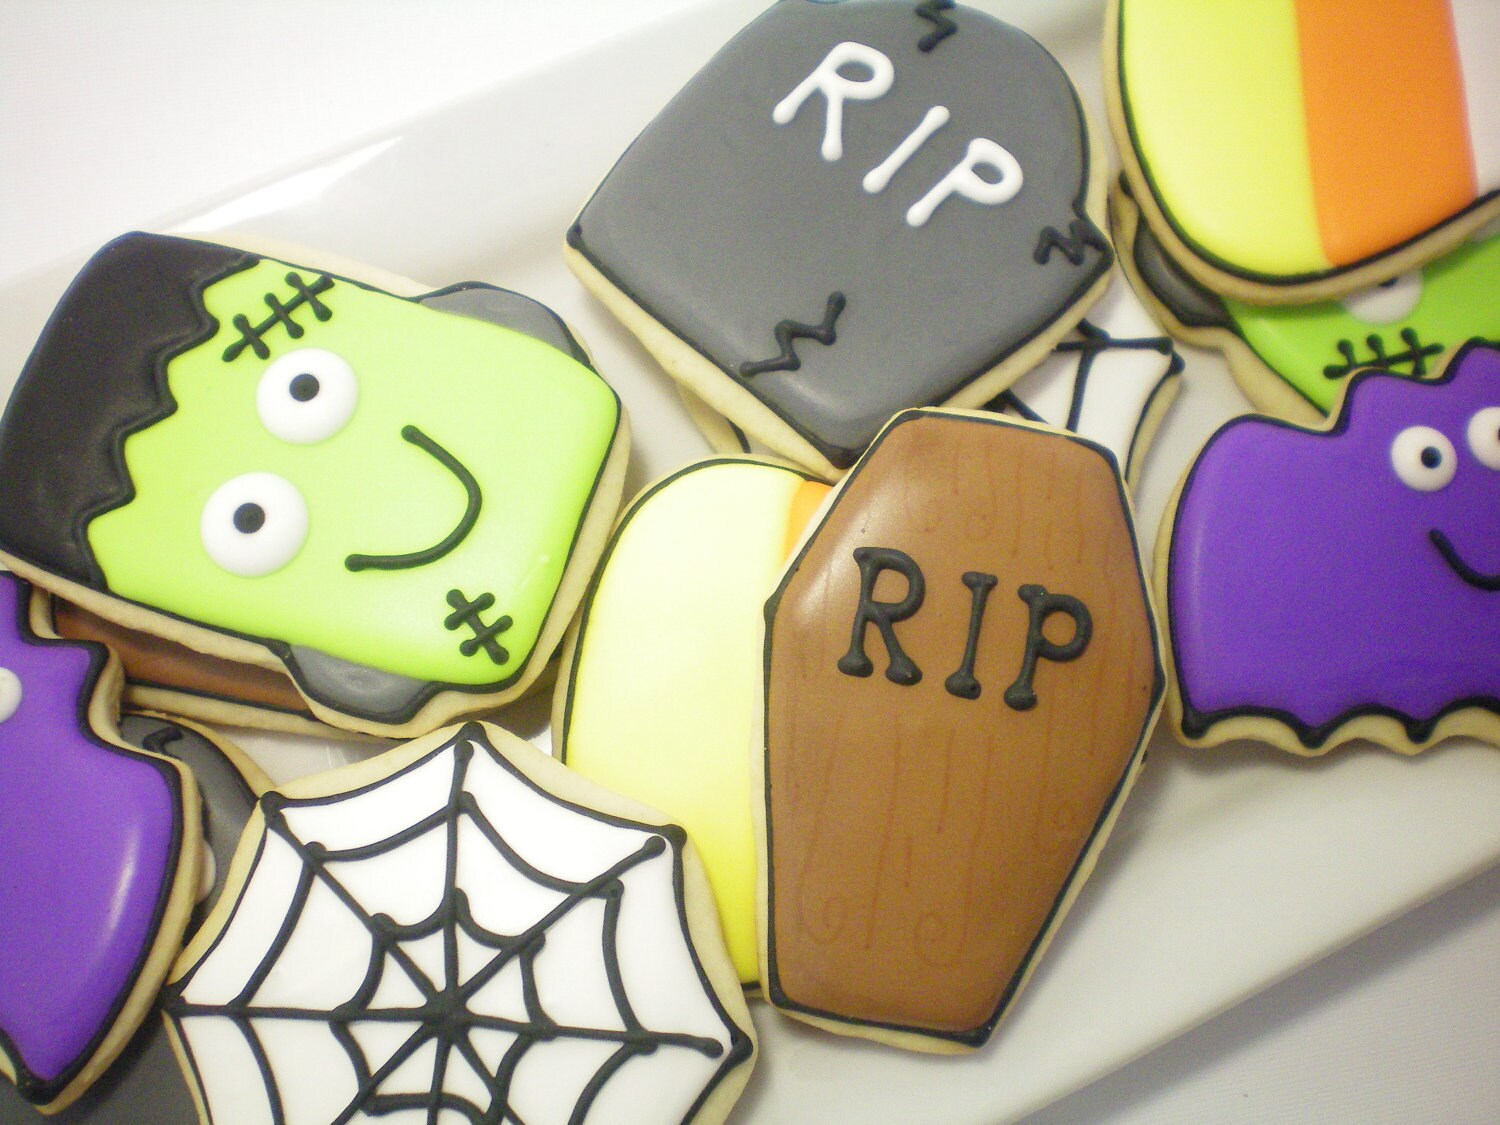
Then again you can simply patronize an Etsy seller like these pictured to the right made by StephanieJscreations or some creepy black sugar cookies from cookiecheers. Or the cute sprinkle  variation above from webvanessa.

BK

Tuesday, October 18, 2011

Factory Square Fine Arts Festival

Hey Craftsters!

I am working on the planning committee for The Factory Square Fine Arts Festival this weekend in Cincinnati! The grounds will be full of shipping containers turned galleries, installations, and large scale sculpture! Not to mention live music, beer vendors and food carts! Plus the Can Factory Apartments behind the grounds will host the City Flea inside (such a cool refurbished space, by the way). If you live in Cincy, come and see it!

BK

Saturday, October 8, 2011

Halloween Snacks!

Hungry, Crafters?

Since Halloween is my favorite holiday you better believe that party foods are on my list of recipes to collect. Not Martha created a pretty cool Meat Loaf Hand dinner that looks really creepy and would be good for any night of the week. She uses a mold to make the hand but I think we could do it with out the mold. And the crispy burn skin look is just cheese!

Disney's Family Fun Magazine created a Haunted Graveyard hummus dip. They blend hummus with spinach for a mossy green, healthy dip, adding crackers for tombstones and twist pretzels for a gate. Its a super cute platter and a good-for-ya option during the Halloween haze of sweets.

And for the over 21 crowd, a bevy of Halloween Jell-o Shots! My Science Project is a really funny and fun experiment site for an older audience; including tips on how to keep your Jack-o-Lantern from rotting. MSP has 11 (count 'em 11) great Jell-o shot ideas for spooky shooters. My favorite discovery is that the quinine in tonic water makes Jell-o black light responsive! You can get the brain molds in the Halloween section of Target for about $5. There is a recipe for caramel and green apple shots that are based on the lollipops. When I was in middle school those caramel apple pops were hot currency and it brought back a little more nostalgia for my trick-o-treating youth.

UPDATE: You can get the Jell-o Brain Mold for free plus S&H (only $2.95) right now on Kraft's website until supplies run out!!!

Busting a Gut, BK

Sunday, October 2, 2011

Drawer Hooks

Crafiteers,

Design Sponge reader Morgane posted a tutorial for fake drawer hangers (wall hooks) but I think that using real old dresser drawers is cooler and more thrifty. I mean, how many times have you seen dressers sitting on somebody's curb waiting for the trashman!?

If you do it my way, just take a hammer and remove the sides and back of the drawer then add some hanging hardware (picture hangers are available at any hardware store). And if you want, change the nobs and slap (or spray) on a coat of paint.

BK


Saturday, October 1, 2011

Tee Shirt Ring Scarf

Hey Chattering Crafters,

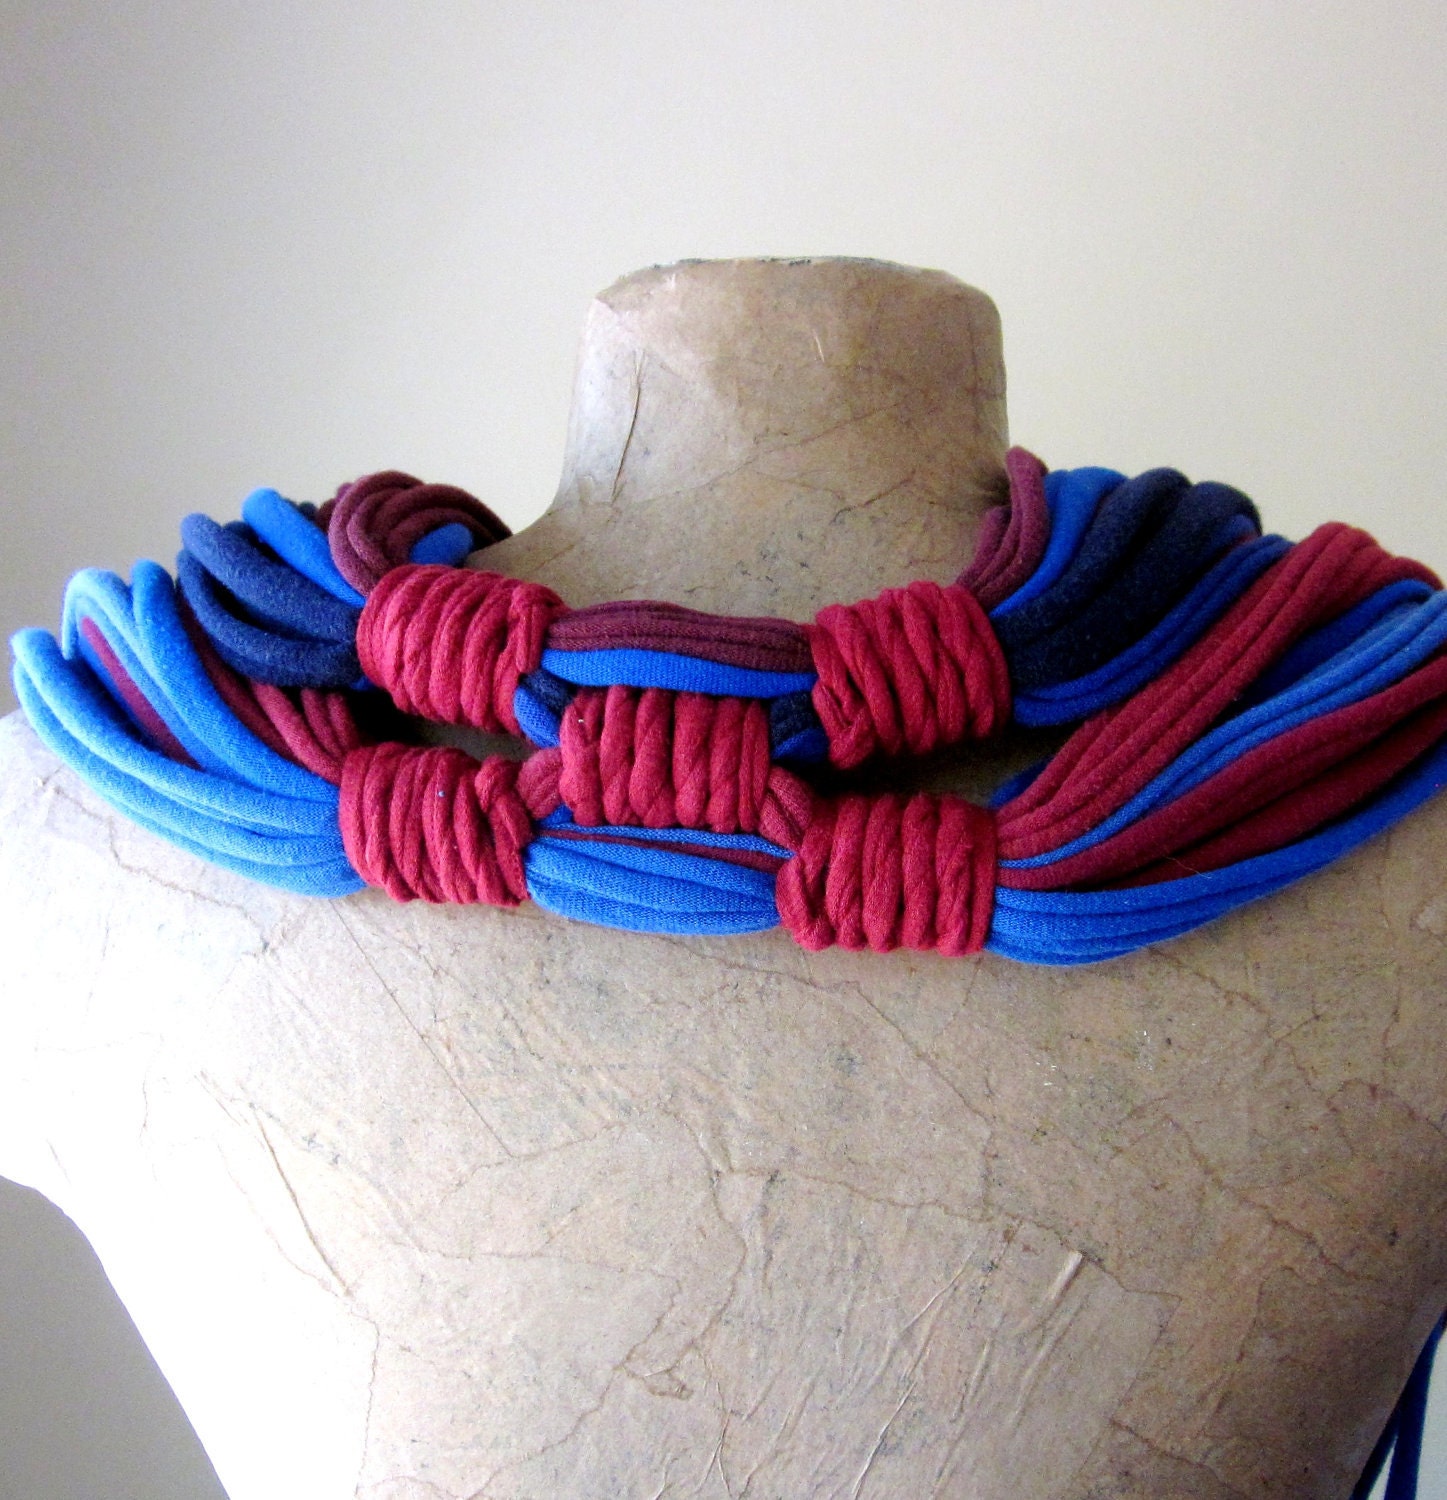
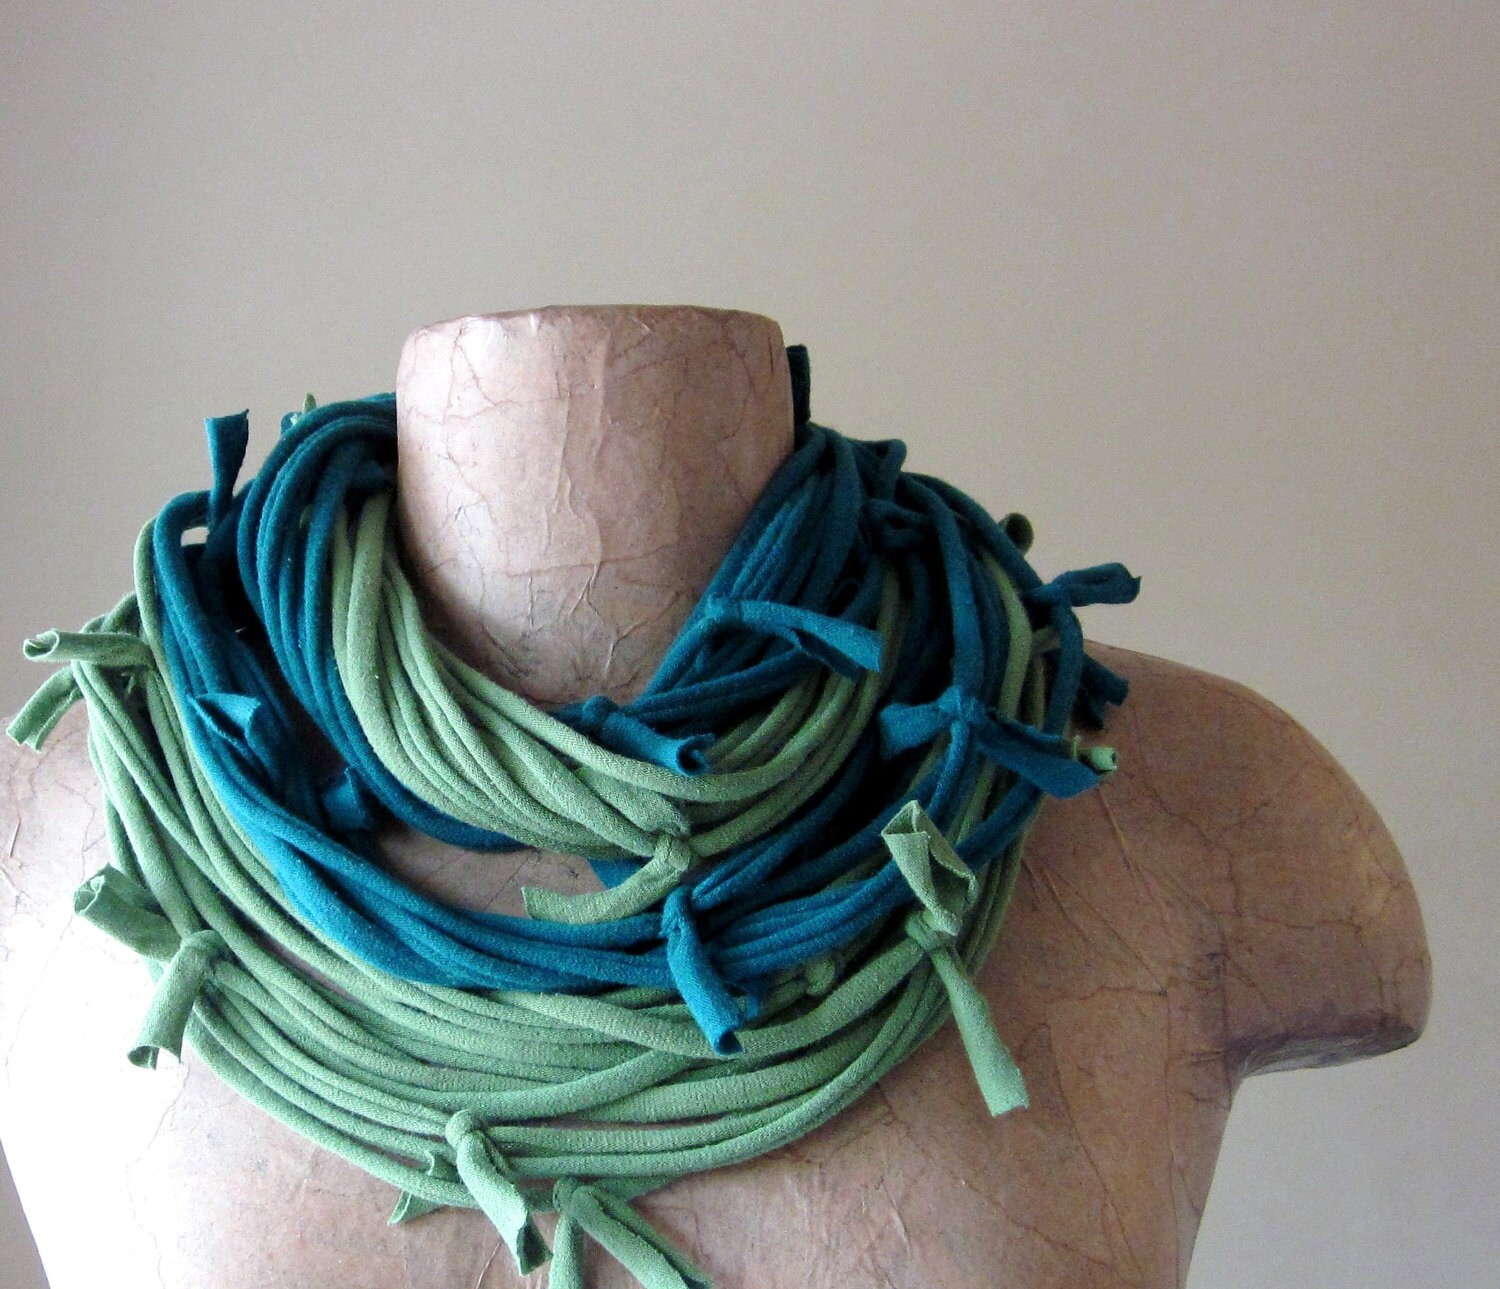
My Mom forwards me emails from Fave Crafts with a ton of tutorial links and while you have to wade through the crap there are usually one or two tutorials I like. This last batch produced a tutorial I had already devised for myself from a picture but its nice to have someone explain for ya. I call it a Tee Shirt Ring Scarf but the Fave Craft tutorial is T-Shirt Necklace. So, really I suppose the name depends on the thickness of the scarf/necklace. I bet you could put a big charm/pendant on a few strands to make it more necklace like. Tee shirt material is really soft and warm, plus you really have an unlimited number of color combinations since there are so many rings.

EcoShag from Etsy makes her own versions if you'd rather buy one. She does really nice work and I like her variations on the theme (especially the Shag that looks like barbed wire).


Stay Warm, BK

Saturday, September 24, 2011

Pop Art Pumpkins

Halloweenies!

I had never really given alternatives to Jack-O-Lanterns much thought before but Happy Mundane created Pop Art Pumpkins as a centerpiece (pictured) and they are really boss! So I started poking around and found a few other non carving ways to go about decorating pumpkins. You can mix and match any of the following tips!
  • Spray painting
  • Scoring
  • Coring to making candle holders
  • Covering in adhesive and glitter
  • Decoupage (leaves, scrapbook and magazine papers, etc)
  • Gluing ribbons and buttons on
I think the thing that really catches my eye are the painted stems. A lot of tutorials suggested you to tape off the stems but I dig it!

Head Weenie, BK